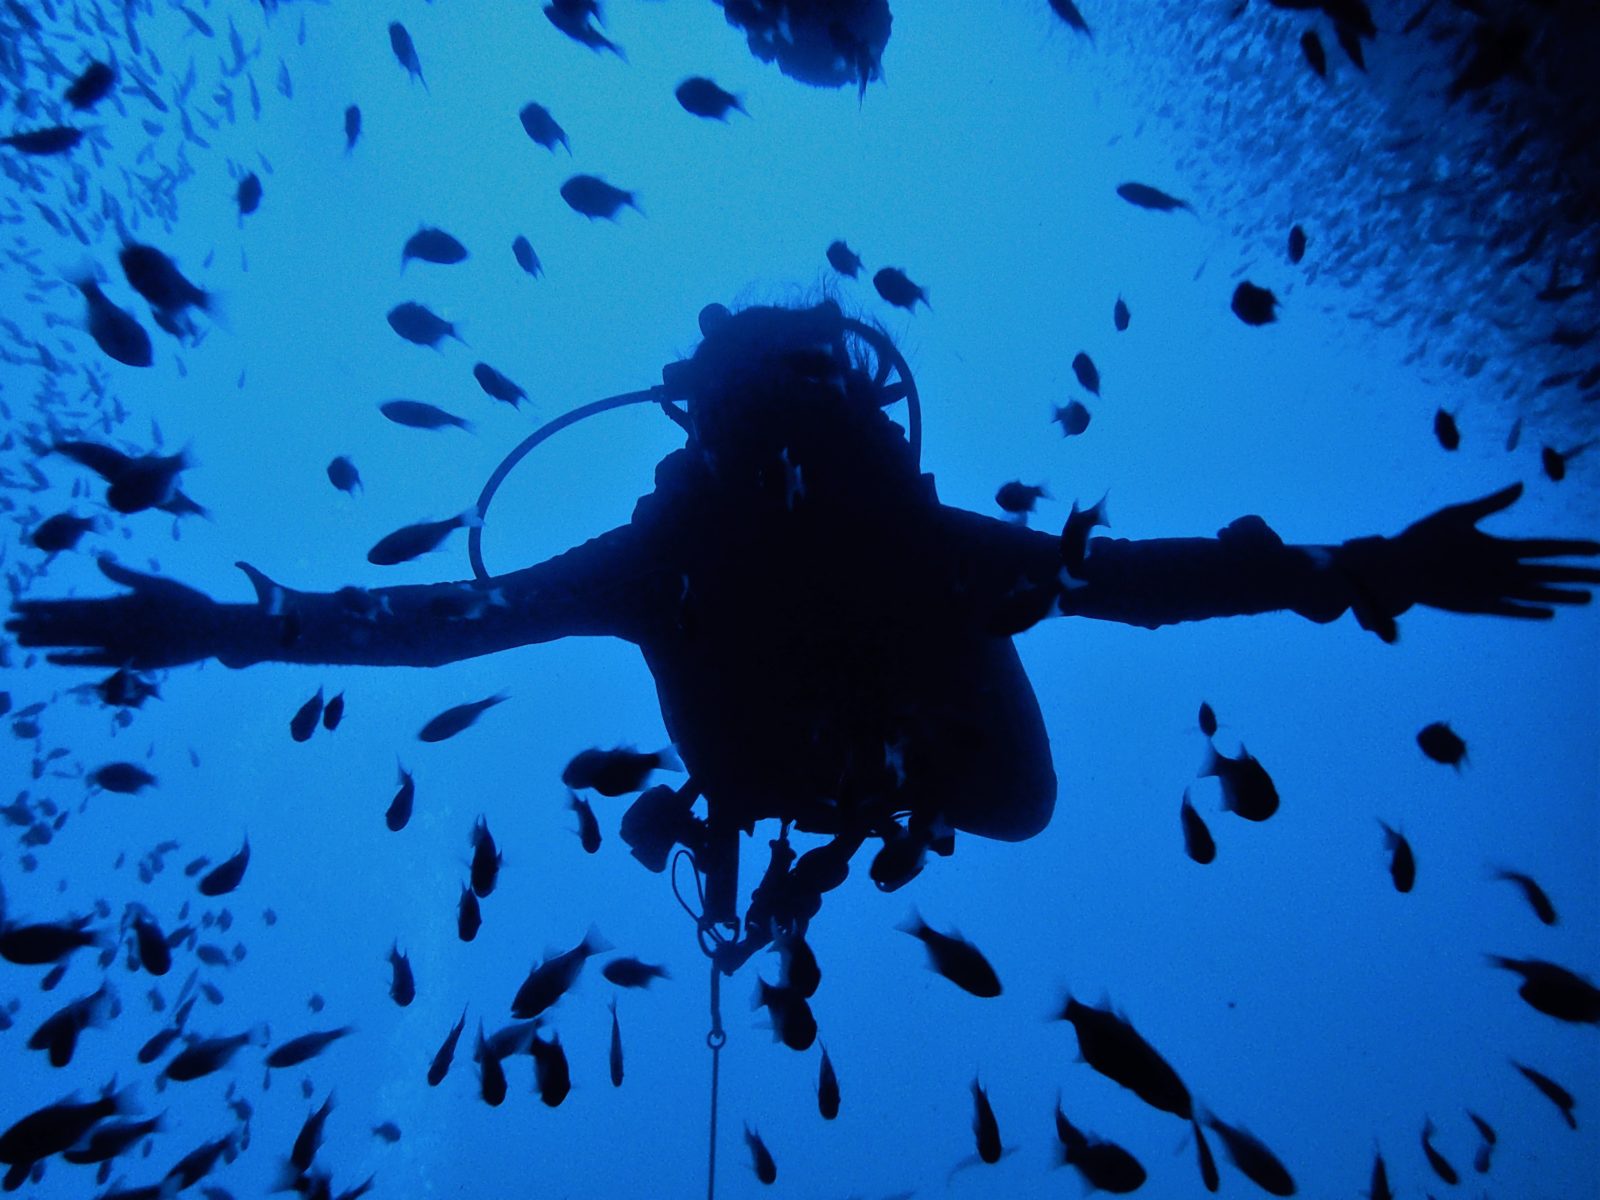
As a PADI Diving Instructor one of the most pleasurable parts of teaching is to see actual results in the water. Buoyancy control is one the most challenging skills to master. It’s all about fine tuning each student and spending time with them to allow an understanding of the skill before training in the water. Buoyancy really is the freedom to swim weightless underwater, but achieving this for a lot of beginner divers can be challenging. All it takes is to understand these 3 techniques, remember them on your next dive and put them into practice.
Scuba Diving has many different aspects, divers get under the water for a multitude of reasons. Maybe to look for the detail in a reef, searching out small critters like cleaner shrimp which require an “up close and personal” relationship with the reef. Diving on a wreck, ensuring not to kick up silt and manoeuvre through delicate passage ways ensuring a “no touch” style or as an underwater photographer who requires to be stable and adapt a “motionless” style. Everything we do in the water whilst scuba diving needs good buoyancy, and lets not forget it’s makes us look like we know what we’re doing and of course look good at the same time! So what’s the secret? Truly my belief is there isn’t one, it’s a just a case of understanding these 3 elements and using them.
- TRIM & WEIGHT CHECK
- Weight check. Ensuring we have the right amount of weight needed to dive is something taught on the PADI Open Water Diver course and is a basic skill and understanding. It unfortunately seems to be one of the first things divers forget to do from then on. Unless (of course) diving in the same location, with the same equipment and same conditions every time we dive, a check must be carried out. Remember: do a weight check at the surface by floating upright with your regulator in and with full lungs, you should be at the water’s surface at eye level, exhale fully and slowly sink. Add or remove weight and repeat until you get it right. Keep in mind this ideally should be done with reserve air in the cylinder (50 bar) to ensure you’re not too light on your safety stop.
- Correct weight distribution. Think about what position you want to be in. A coral wall dive suits a vertical position where a muck dive to search out critters requires a horizontal position. By moving your weights from to the back of your body assists in achieving a vertical position, by moving weights to the front of your body aids a horizontal one making your trim more refined. Trim pouches allow for more adaption than a weight belt and lead shot bags allow for a more fine tuned distribution of weight.
2. BREATH CONTROL
- The end goal is to fine tune your buoyancy by using your lungs as your main buoyancy device. Once you have achieved the feeling of general “neutral buoyancy” by adding air to your buoyancy control device (BCD) via your low inflator we need to understand “diaphragm breathing”. Utilising your full lung capacity from empty to full to fine tune the rise and fall in the water, with the final result of each breath in and out cancelling each other – so we stay truly neutral. Once you feel neutrally buoyant at depth, leave your BCD’s inflator hose alone. Now make minor buoyancy changes with slow, deliberate breathing. Take a long, deep breath to rise slightly as you swim over a coral head, and exhale slowly and completely to sink if you were to kneel on a sandy bottom.
3. DEPTH
- There are multiple things to take into consideration regarding depth. Whatever the surface buoyancy of your wetsuit, it will change with depth – pressure reduces those thousands of gas bubbles making your wetsuit thinner and therefore displacing less water. Remember you lose half of your surface buoyancy in the first 10 metres (33 feet) of your descent and a third in the next 10 metres. Below 20 metres (66 feet), there’s only one-sixth of the original buoyancy left to lose no matter how deep you go. The same goes for your Buoyancy Control Device (BCD), basically the single large bubble in your BCD behaves the same way. That’s why it’s often hard to get submerged, but once you’re down a few metres, you feel you are getting heavier and sinking more easily. When you ascend, you get back the buoyancy of your wetsuit and your BCD instantly. So you have to be alert to buoyancy changes whenever you change depth, and especially when you ascend. Most runaway ascents happen when divers forget to vent air from their BCD as they ascend. Air expands as you go up therefore making you more buoyant, so always start your ascent by venting air from your BCD.
To conclude, take on board the 3 tips above and put them together every time you dive. Remember – be patient and reap the rewards of having amazing buoyancy ensuring a safe and enjoyable dive.

